Monster concept art appears at the first line of visual storytelling. The artist studies the character role and the scene needs. They sketch quick shapes to test mood and scale. They pick features that show function and emotion. They avoid generic parts and push for clear silhouettes. This guide shows steps an artist can use to make monster concept art that reads fast and serves the story.
Key Takeaways
- Monster concept art communicates a creature’s role, personality, and threat by using clear silhouettes and visual cues tied to behavior and environment.
- Artists start with fast thumbnail sketches to explore and refine unique, readable monster silhouettes before moving to detailed renders.
- Incorporating environment details and color guides mood and storytelling without relying on text, enhancing the monster concept art’s impact.
- Balancing originality with instant readability ensures the monster design serves its story purpose and is recognizable even at small sizes.
- Using references, texture logic, and strategic tool choices helps artists push creativity while maintaining clarity in monster concept art.
- Seeking targeted feedback in focused cycles and documenting constraints improves the efficiency and effectiveness of the monster concept art workflow.
Understanding Monster Roles and Storytelling Through Design
Designers use monster concept art to communicate role, threat level, and personality. The artist defines the monster’s role first. Is it an antagonist, a guardian, or a neutral force? The artist lists each role trait. They translate trait to visual cue. For example, a guardian gets heavy armor plates and calm posture. An ambusher gets low center of gravity and soft texture to suggest silence.
The artist ties anatomy to behavior. Strong limbs imply weight, swift limbs imply speed. Eyes, mouths, and limb count give emotional shorthand. The artist chooses eye shape to show intent. Narrow eyes read cunning. Wide eyes read surprise or innocence.
The artist uses environment to tell story. A swamp monster carries algae and reeds on its back. A mountain creature shows broken rock and frost on its hide. These details give context without text. The artist designs color to guide mood. Cold colors reduce approachability. Warm colors invite empathy.
The artist balances novelty and readability. They add one unexpected feature. They keep the silhouette clear. They test the design at small scale to confirm instant recognition. This step prevents a good idea from becoming visually confusing.
Practical Workflow: From Thumbnails to Final Concept
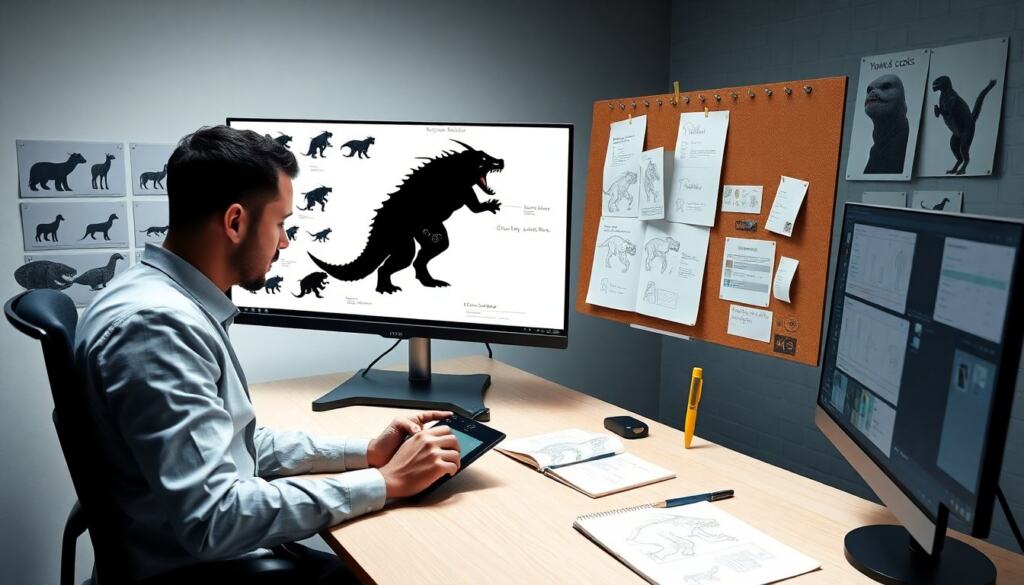
The artist begins with fast thumbnails. They draw dozens of tiny silhouettes in five to fifteen minutes. They mark the strongest silhouettes and drop weak ones. They choose two to four directions to refine.
Next, the artist creates mid-size sketches. They block masses and test anatomy. They note function across poses. They write short notes next to the sketch. Notes mention materials, movement, and scale. The artist often includes a quick size comparison to a human figure.
The artist moves to a detailed render after settling anatomy. They refine line, texture, and lighting. They use a limited palette to keep focus on form. They push one or two focal features, like a glowing maw or patterned carapace. They avoid adding many focal points.
The artist creates orthographic views if the monster will go to 3D. They produce front, side, and back views. They include callouts for key textures and joints. They export a clean turnaround sheet for modelers.
The artist prepares a paintover for composition and storytelling. They add props, environment hints, and action lines to show how the monster moves. They supply a short blurb that states role, behavior, and a one-sentence origin. This text helps art directors and writers align on purpose.
Techniques, Tools, and Tips to Push Originality and Readability
The artist explores references early. They collect animal photos, fabric samples, and mechanical parts. They study real-world attachments like shells, feathers, and tendon maps. They combine references to form fresh hybrids.
The artist experiments with silhouette editing. They crop and flip thumbnails to find strong shapes. They remove mid-line details that reduce clarity. They test the design at a thumbnail size to ensure instant read.
The artist uses texture strategically. They apply consistent texture logic. For example, exposed joints keep smooth skin for speed. Armor plates gain heavy scratch marks to show past fights. The artist avoids competing textures that confuse the eye.
The artist picks tools for speed and control. They use digital brushes that block form fast. They keep a custom brush set that matches their line and painterly needs. They use layers to test color options without repainting.
The artist seeks critical feedback in short cycles. They show three strong options rather than ten weak ones. They ask peers one focused question, such as “Does this read as fast predator or slow tank?” They iterate quickly based on the single answer.
The artist documents constraints. They note animation joints, silhouette limits for UI icons, or print reproduction needs. This step prevents last-minute redesigns that break the read of the monster concept art.